

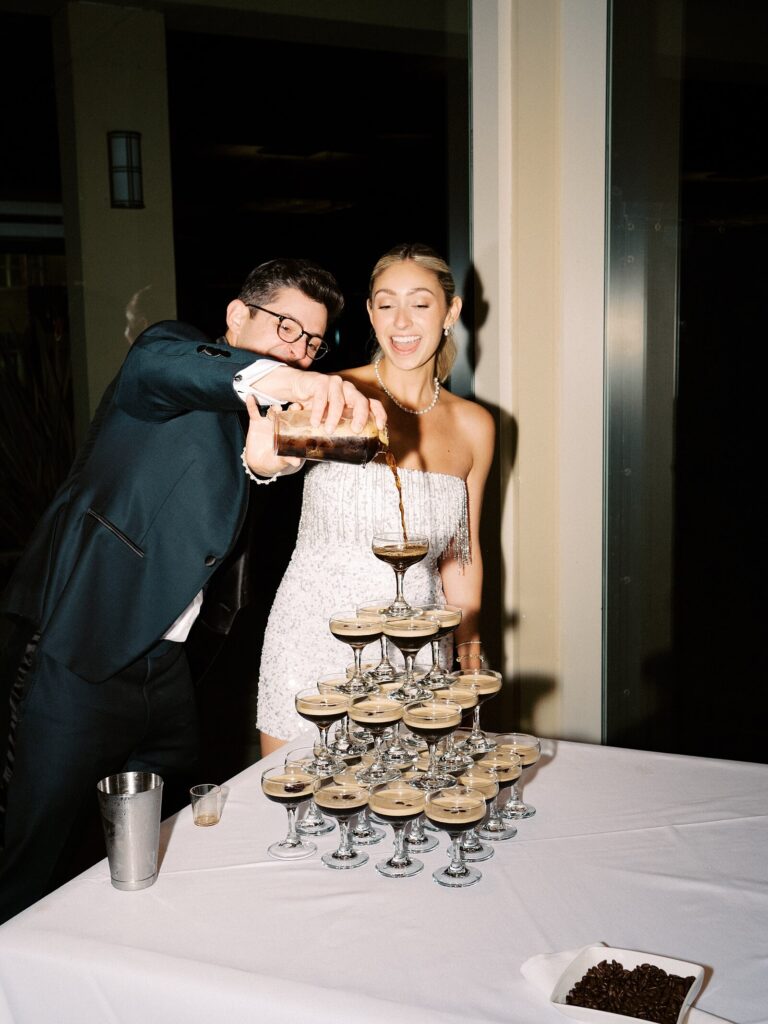
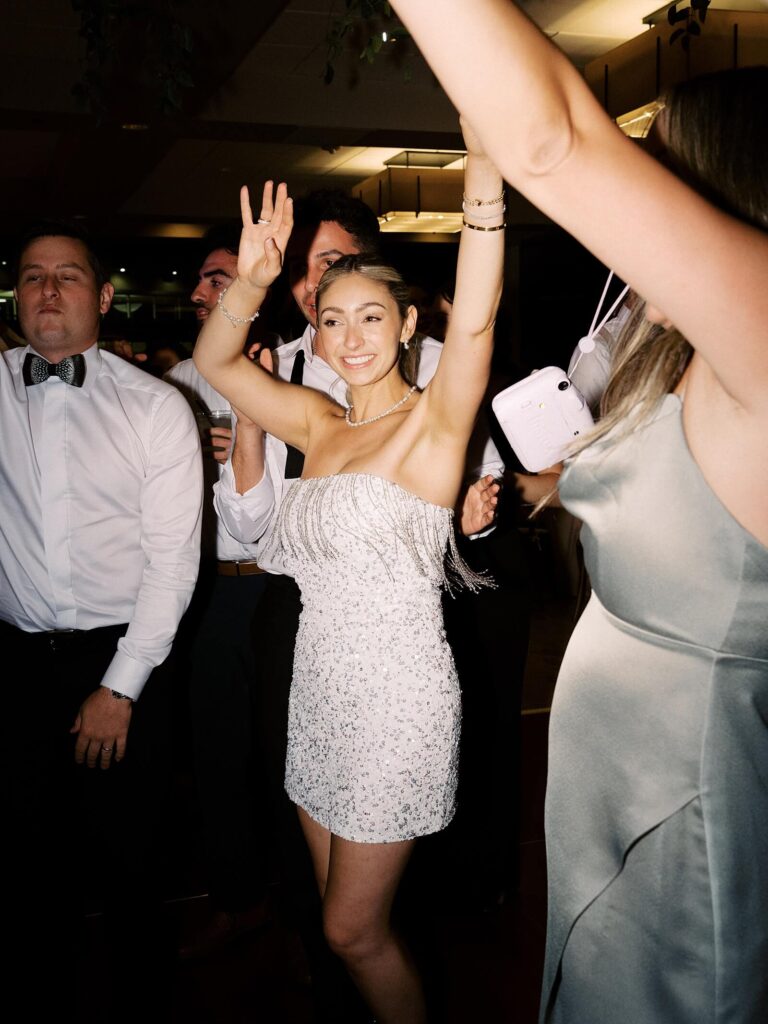
Direct flash use at wedding receptions has become an increasingly popular style request among brides and grooms in recent years. There has been a rise in appreciation of dramatically lit reception photos, that give off magazine worthy style and have a knack for capturing the essence of a fun, vibrant wedding reception. If you’re a wedding photographer looking to perfect your technique for shooting direct flash at wedding receptions, I’m here to walk you through the process. Wedding receptions are fast-paced and unpredictable, and getting the lighting just right is crucial for capturing those candid moments beautifully. Let’s dive into the key settings and tools you’ll need to make your direct flash shots shine.
Setting Your ISO
One of the first settings to consider is your ISO. You don’t want to set it too low because you need enough ambient light to balance your flash power. Most photographers use speedlights, which aren’t as powerful as strobes. So, when shooting direct flash with an on-camera speedlight, a medium-high ISO is often necessary. To get the high contrast flash look you want more of the light coming from your flash than from the ambient light, therefore you wouldn’t want to set the ISO too high for this look, so somewhere in the middle. Personally, I shoot at an ISO range of 640 to 1600 to achieve this look during wedding receptions. This range provides a good balance between light sensitivity and image quality, ensuring your subjects are well-lit without over-relying on flash power.
Adjusting Your Aperture
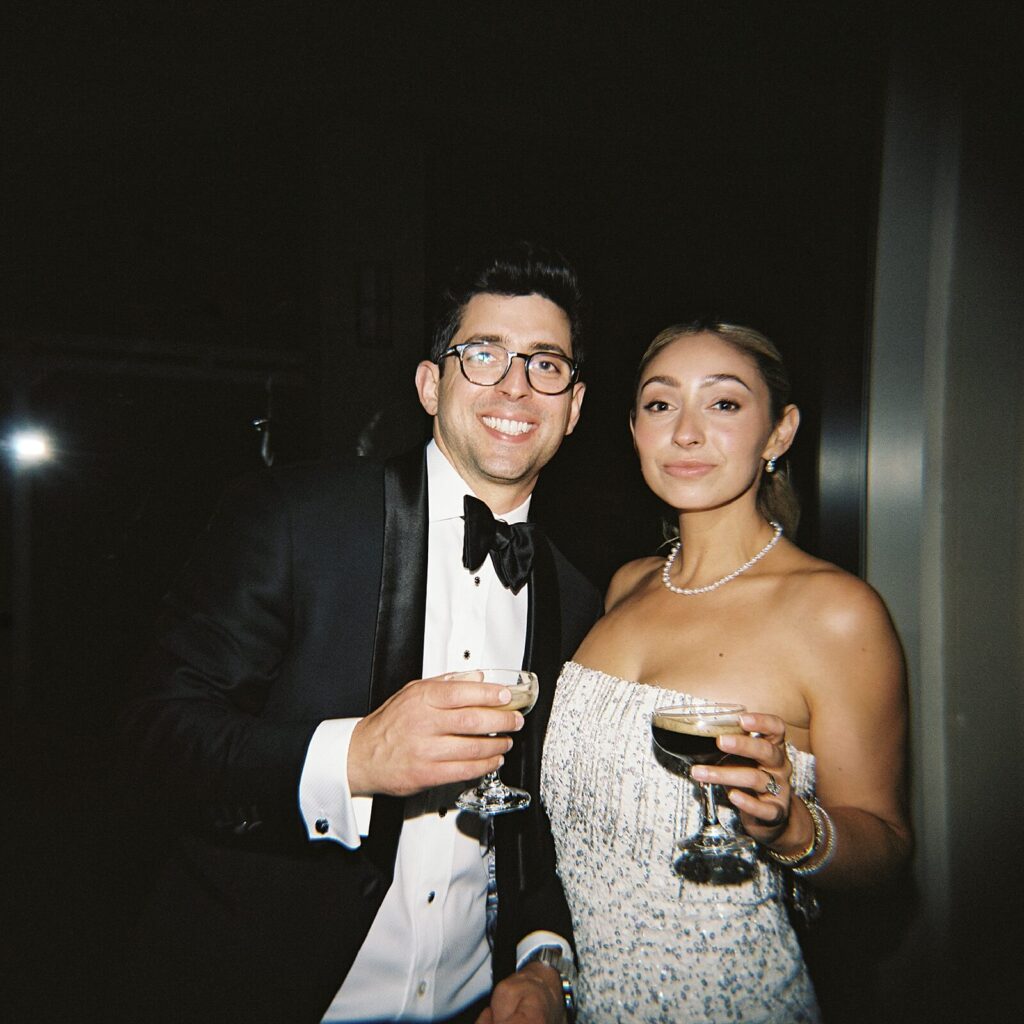
Next up is your aperture. For wedding receptions, I recommend setting your aperture to around f/8. While I typically shoot portraits at f/2.8 and group shots around f/4, an aperture of f/8 is ideal for receptions. This setting allows you to capture quick-moving candid shots with greater depth of field, ensuring more of your scene is in focus. Additionally, it helps to darken the background, giving you that classic high-contrast “flashy” look where the subject stands out against a darker backdrop.
Managing Shutter Speed
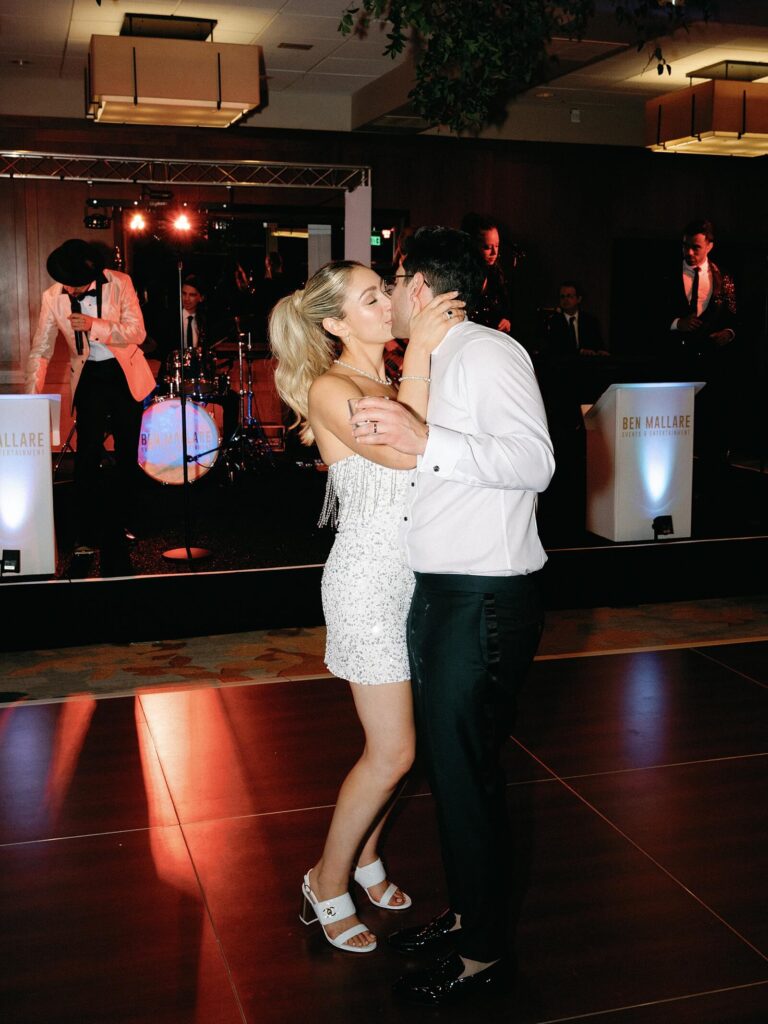
Your shutter speed is another crucial component. For direct flash, I usually set my shutter speed based on my camera’s flash sync speed. This is the maximum speed at which your camera can sync with the flash and varies from camera to camera. For example, on my Nikon Z6II, the sync speed is 1/200 of a second. However, unless you’re using high-speed flash sync, you’ll need to stay below this limit. High-speed sync allows you to shoot at faster shutter speeds, but it’s dependent on your flash’s capabilities, so be sure to check your equipment’s specifications if you’re considering this option. If you’d like to use a shutter drag technique to capture light trails from other light sources such as string lights, set your shutter speed to 1/10 of a second and set your camera to Rear Curtain Sync. The flash will freeze the action and as you move the camera, the ambient lights will streak across your image. Otherwise, my typical shutter speed is around 1/100 of a second.
Utilizing TTL Mode for On-Camera Flash
When shooting with on-camera flash, I often rely on TTL (Through The Lens) mode. TTL automatically adjusts the flash power based on the distance between your camera and the subject, which is incredibly helpful during fast-moving events like wedding receptions. While you can certainly shoot in manual mode, TTL offers the convenience of quick adjustments, making it easier to capture spontaneous moments during dances and other dynamic parts of the reception.
If you take your flash off camera and handhold the flash off to the side or set up off camera flash on a lightstand, TTL won’t be an option. In this case, you’ll need to manually set the flash power based on your camera settings. For example, if you’ve set your camera to ISO 800, f/8, and 1/100 shutter speed, you’ll need to adjust the flash power accordingly to achieve the desired lighting effect. Remember, getting that direct flash look might require more power than you expect, so be prepared to make adjustments.
Softening the Light with Modifiers
Lastly, and perhaps most importantly, don’t forget to use a light modifier. Shooting with a bare flash can result in harsh, unflattering light. To avoid this, I recommend using something like the MagMod MagSphere. This modifier easily attaches to your flash using their MagGrip system, and helps to diffuse the light, wrapping it around your subject for a softer, more polished look. The MagSphere still allows you to achieve that direct flash effect, but with a much more professional and aesthetically pleasing result.

Final Thoughts
And there you have it — my quick tips for shooting direct flash at wedding receptions. By carefully balancing your ISO, aperture, and shutter speed, utilizing TTL for on-camera flash, and softening your light with a modifier, you’ll be well on your way to capturing stunning high contrast flash images that stand out. If you want to mix in some film, pick up a cheap Holga, slap on a small flash, and shoot away. It’s so easy and the results are so much fun! Happy direct-flash shooting!
If you’re interested in learning more from me, I would be delighted to be your photography mentor! Head to my Education Page to book a call!


add a comment
+ COMMENTS