

I was shocked by a recent conversation with a photographer friend that mentioned designing albums was too time-consuming. To me, it has always been fun and fairly quick. Not only that, I believe that albums are the finished artwork that beautifully showcases our images and holds the memories of our clients. Without albums, our clients are missing out on heirlooms that can be passed down for generations, as their digital files get lost in a sea of digital clutter. But if one photographer is struggling, it’s likely a pain point for many others. Over the last 10 years, I’ve used the same software, SmartAlbums by Pixellu, to easily design stunning albums for my couples. With SmartAlbums, the album designing process becomes quick and easy, and a task that often feels daunting becomes simple and efficient.
Here are 5 tips to designing a stunning album, using Pixellu SmartAlbums software. And jump to the end for a quick video walking you through the process, and my 15% off discount code to get you started.
Step 1: Organize Your Photos
Before diving into the design process, organize your favorite photos. Create a dedicated folder on your computer with all the images you want to include in your album. Consider categorizing them by event or moment (e.g., getting ready, ceremony, reception) to streamline the design process.
Tip: Include a mix of wide shots, close-ups, and detailed photos to add variety to your album layout.
Step 2: Choose Your Album Settings
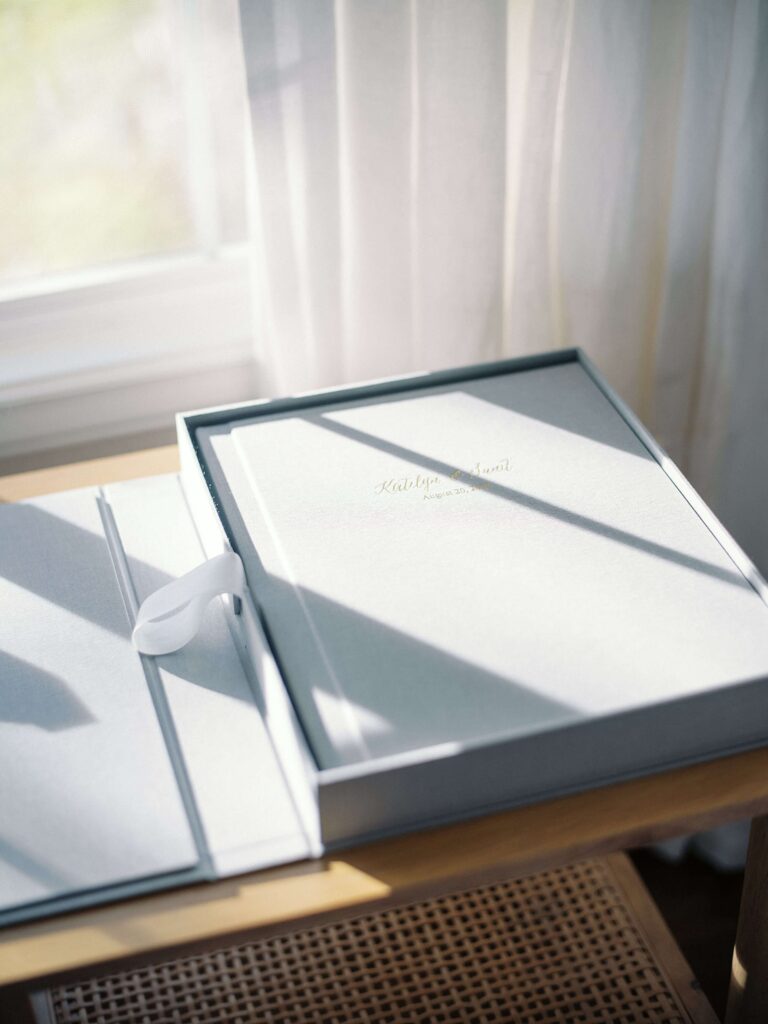
Open Pixellu SmartAlbums and start a new project. You’ll need to choose your album settings, such as size, format, and cover type. SmartAlbums offers a variety of templates and sizes to match different album styles and preferences. When you open Pixellu and load their preset design framework, they’ll have the sizes of available spreads, including dimensions and trims for you to choose from. Personally, I use Dekora Album as my album company. My favorite is their 9×12 inch Artisan Album. From there you can load any templates, I tend to choose “all” so I have as many options as possible, custom options included! You can also choose your background color, the border and gap sizes as well. Once there, you’ll hit save and move onto your layout.
Tip: Check with your printing service to ensure your chosen album size and specifications are compatible with their requirements.
Step 3: Design Your Layout
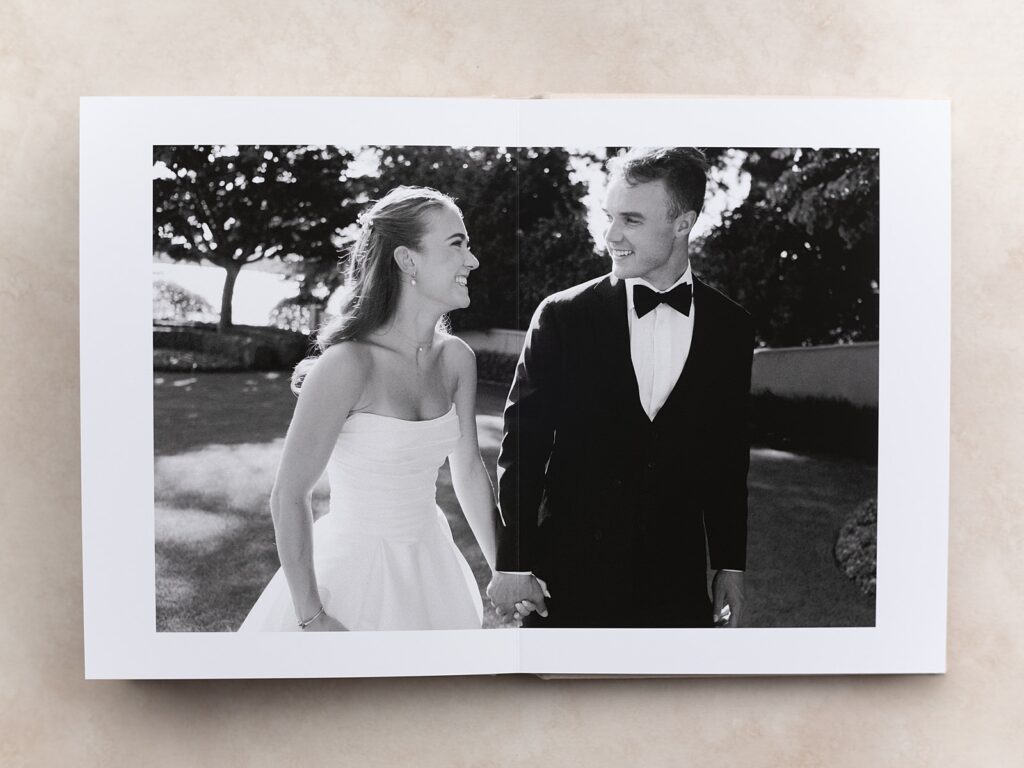
This is where the magic happens. Drag and drop your photos into the album. SmartAlbums’ intuitive interface makes it easy to create beautiful layouts effortlessly. You can use pre-designed templates or customize your own. Most albums come with a minimum of 10 spreads (a spread means both a left and right page).
- Auto Layout: Use the auto-layout feature to quickly generate a layout. You can adjust the placement and size of photos as needed, as well as the amount of spreads you want.
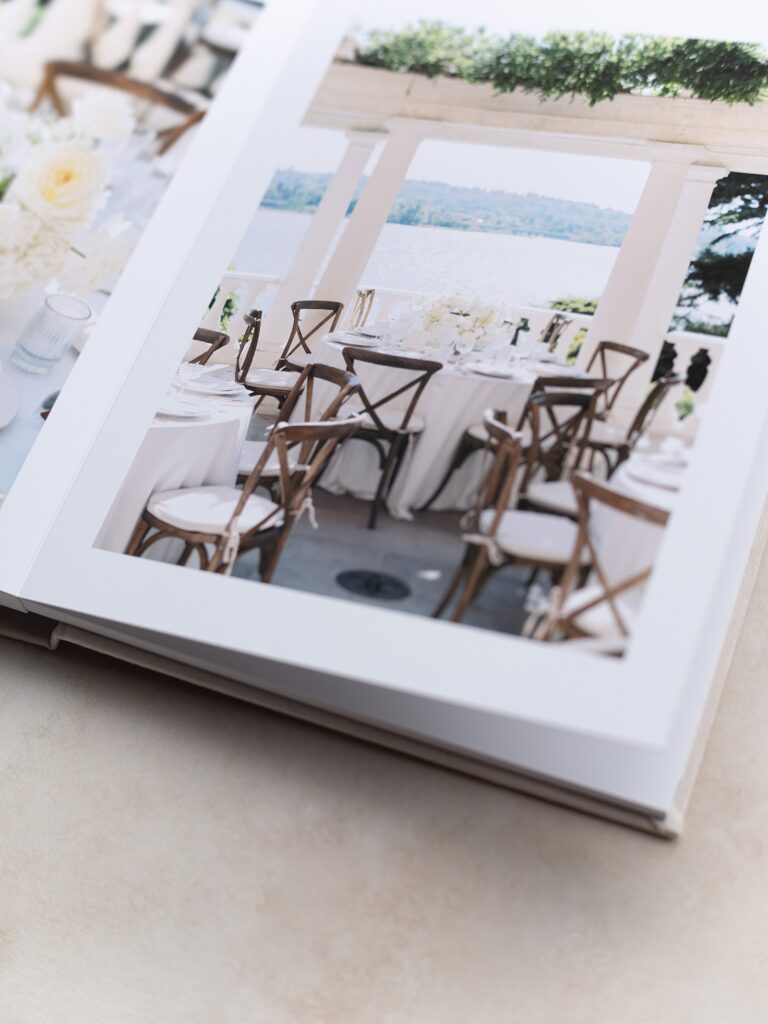
- Custom Layouts: If you prefer a hands-on approach, manually arrange the photos. SmartAlbums offers grid lines and snapping tools to ensure precise alignment. This is what I use. Personally, I like a very simple design so I will usually only use one to four images, at most, per spread.
You can simply click an icon at the top of the album page to scroll through different layouts to decide which suits your photos best, including any custom templates you’ve made. It really is that simple! You can also click the arrows on your keyboard to go through the different spreads.
- Tip: Maintain a cohesive flow by balancing spreads with a mix of single and multiple photos. Avoid overcrowding any single page.
- Tip 2: An indicator will pop up in the corner of your image to show it is being upscaled and that it thinks there may not be enough pixels to print properly. You can determine if you think you need to make any adjustments by referencing normal printing standard, around 300dpi.
Step 4: Add Personal Touches
Enhance your album with personal touches. Pixellu SmartAlbums allows you to add text, backgrounds, and overlays to make your album unique.
- Text: Include captions, dates, or quotes to add context and emotion to your photos.
- Backgrounds: Use solid colors or subtle patterns that complement your photo theme.
- Overlays: Apply overlays sparingly to add visual interest without overwhelming the images.
Tip: Keep text and decorative elements minimal to maintain focus on the photos.

Step 5: Review and Export
Once you’re satisfied with your album design, review it thoroughly. Check for any errors, such as misaligned photos or typos in the text. SmartAlbums offers a preview mode to see your album as it will appear in print. You can right click on any pages to convert them to half pages if necessary, often the first and very last pages are half pages.
- Proofing: If you feel inclined, especially if you are new to album design, share a digital proof with your clients or family members to get their feedback. Pixellu also has cloud proofing which is great for getting comments back from clients. If you use PicTime, you can upload your proof to a proofing segment in your clients online PicTime gallery, this is what I personally do and find very helpful. Clients can comment and put a pin on specific photos in the design layouts to provide feedback and their gallery is right there for them to reference. For one month free, join me over at PicTime!
- Export: When everything looks perfect, export your album. Pixellu SmartAlbums supports various formats, ensuring compatibility with your chosen printing service.
Tip: Save your project frequently and keep backup copies to avoid losing any work.
Designing a stunning album with Pixellu SmartAlbums is truly such a simple way to create stunning albums for your clients, or even yourself. It makes the process simple and efficient, taking what could be an hours or days-long task and turning it into something you can actually enjoy doing. It’s a beautiful way to share your work, and some of your client’s best days. Whether you’re a professional photographer or a passionate DIY enthusiast, SmartAlbums simplifies the process, allowing you to focus on the heart of the matter—telling your story.
For a quick look at how I design my albums, here’s a video:
Check out SmartAlbums by Pixellu and get 15% off your first year, just use my code: JBENET


add a comment
+ COMMENTS