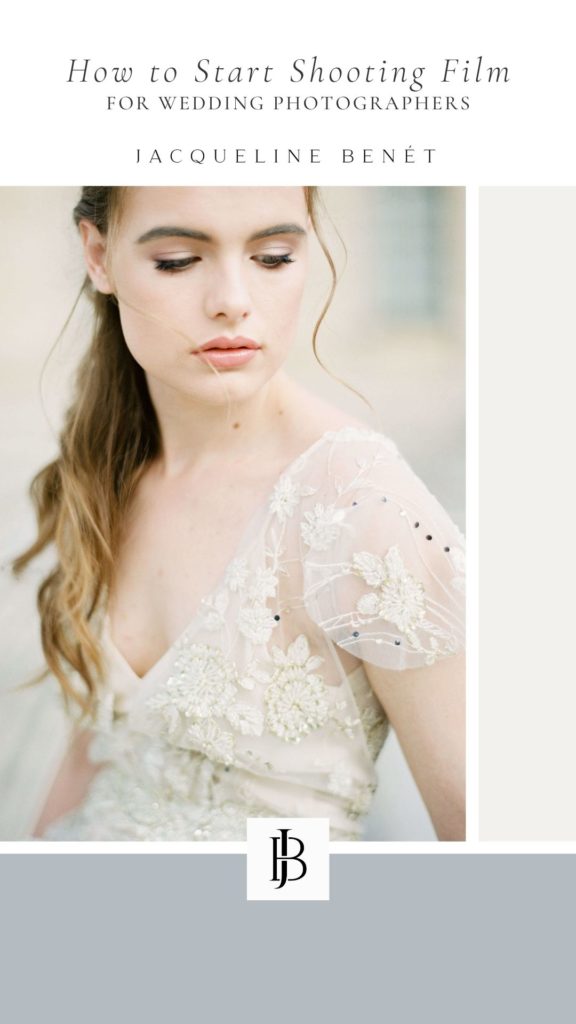
Last week on Clubhouse, I chatted with Rudney Novaes Photography all about our film photography journeys. We discussed how we got started and gave advice for those who were just starting out with film in their wedding photography business and wanted to learn more. If you missed it, or need a recap, I have the run down right here!
How I started shooting film
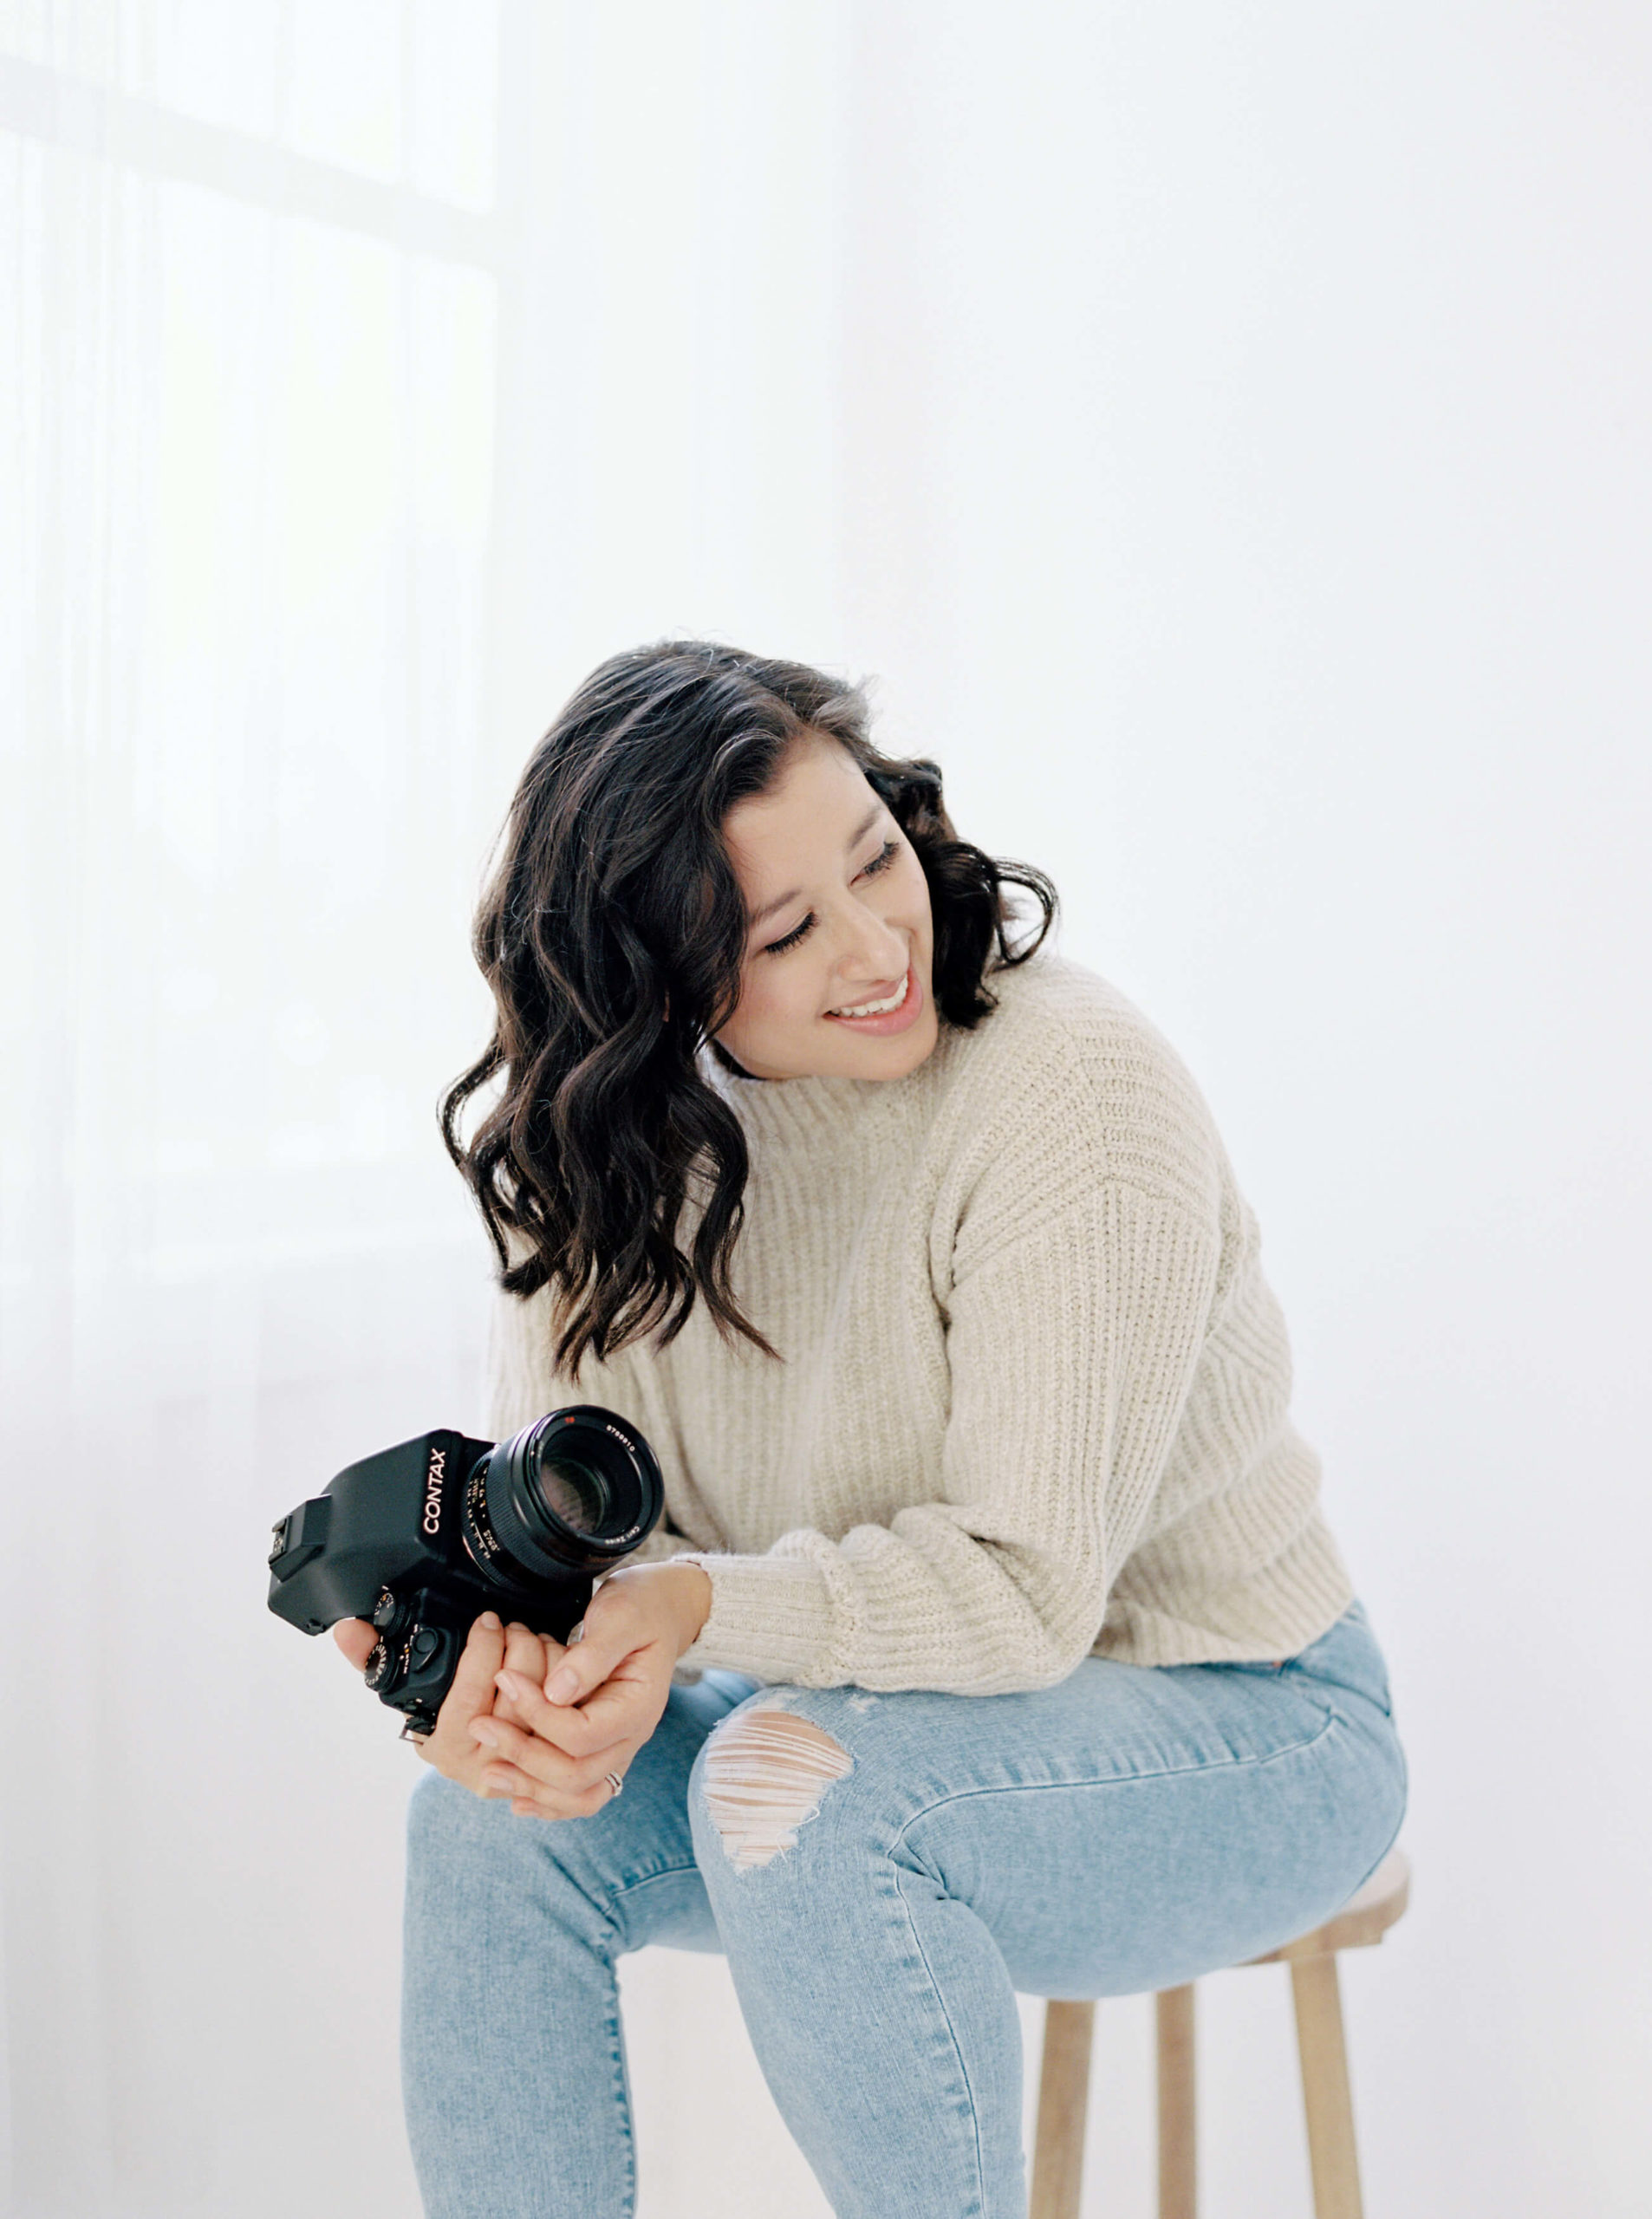
I grew up around film with my dad shooting landscapes on large format panorama cameras and medium format cameras. Picture a 10 year old trying to help haul these cameras and tripods and film into the mountains. When we’d travel to Europe, my dad would stuff his cargo pants with film to go through metal detectors at security instead of passing it through the X-Ray machines. He didn’t want to deal with the hand-check hassle or risk an agent forcing his film through the scanners. But it wasn’t until I started shooting weddings that I really became interested in film.
- In 2013, I started shooting weddings and was looking for my own wedding photographer. I realized that the photos that I loved the most were shot on film.
- In 2014, I bought a 35mm camera, Nikon F100, and started playing around with shooting film. Shot my first few styled shoots with a couple rolls of film and the rest digital. I learned everything that I could from reading forums online and doing as much research as I could about how to get the look that I loved so much, and of course LOTS of trial and error.
- In 2015, I bought a Pentax 645N to start trying out medium format. It was great, but there was something about the images that I was seeing from the Contax 645 that couldn’t be replicated from what I was doing.
- In 2016, I bought a Contax 645 and had my husband start learning the Pentax 645N. And the more I kept shooting, the more I kept learning and growing.
- In 2017, I went to a workshop in France and my film actually was forced through an X-Ray scanner, even my Ilford Delta 3200. I was in tears at the time, but thankfully the scans looked fine! It was during this time I started working with Richard Photo Lab.
- And in 2018, I started a Color PAC with Richard Photo Lab to really refine my style and color palette. Working on that the last few years I’ve finally starting to feel like I’ve got it down, with Fuji 400h. But of course as we know Fuji shooters will have to start pivoting to other film stocks! More on that here.
Building a relationship with your lab
One of the questions that came up the most in our Clubhouse chat was on how to work with your film lab and build that partnership with them. This relationship is key to consistency in your aesthetic. When I was first starting out I tried a few different labs with varying degrees of success, but there was always something about the images that I saw coming from photographers using Richard Photo Lab that struck me. I loved the color palettes that I was seeing, and wanted to learn more. So once I started working with Richard Photo Lab on my Color PAC, I felt enabled to have that dialogue with them regarding my film scans. We worked together to hone in on the colors that I was looking for, and I could always give feedback at any time if something seemed like it needed tweaking. Without them knowing what I was looking for, it would have been impossible to nail down my style. And now session after session, I am getting film scans that I love. They never cease to impress me!
Incorporating film into your wedding workflow
For both Rudney and myself, we started off just shooting only a couple rolls at a wedding when we were first incorporating film. I would shoot a few frames at every major point throughout the day making sure I’d have film anchor images from every lighting condition to edit my digital images with. And as I started shooting more and more and building my confidence, I began incorporating film more throughout the day. I would shoot portraits mostly on film with a few key frames on digital for back up.
On the back-end, I would cull the digital images while I waited for my film to come back, but I never really got started on editing until after they were back. I like to edit my scans a little first if needed, then intersperse them throughout the wedding gallery in each section that they go in, and then start the digital matching process.
Pricing and knowing your numbers
It is important that you calculate the cost of shooting film for each session or wedding and only bring enough that you can afford. Film costs roughly $2 per frame or about $31 per roll to purchase, develop, scan, and ship. If I bring a lot of extra rolls, I find that I tend to shoot more loosely and dig into those extra rolls, but if I only bring just enough, I have to shoot more diligently, my keeper rate increases, and that makes all the difference in saving money. There have been times, though, where the most artistic images come out of sessions when I’m not worried about how many frames I have left to shoot, so there is something to be said for designating sessions where you shoot more freely if you can afford it.
Which film camera should you start with?
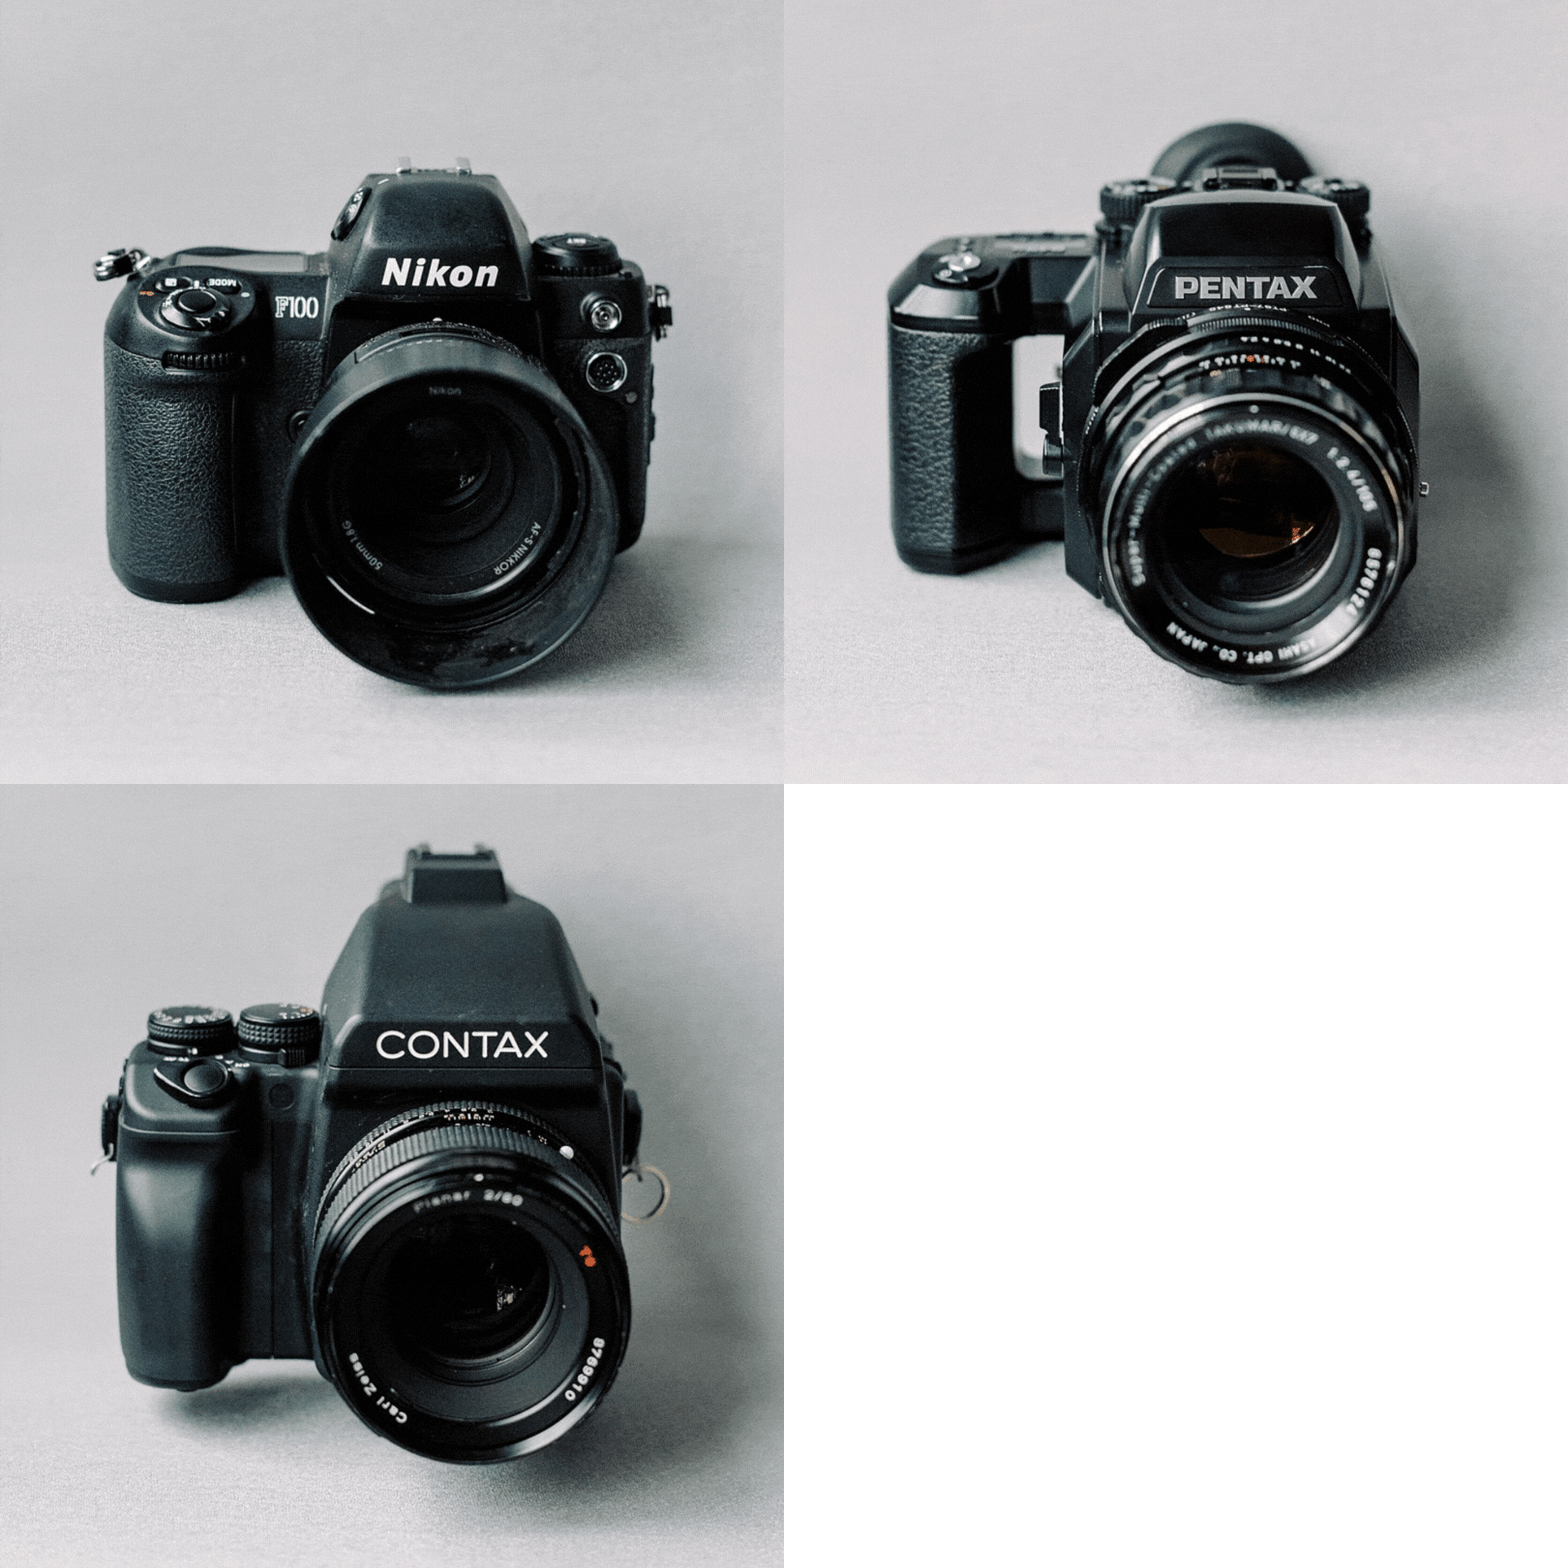
As they say, the best camera is the one in your hands! I have been able to create beautiful film images with all the film cameras that I have tried so far. I still use my 35mm camera for black and white film and truly believe that it’s not ALL about the tool. My suggestion would be if you’re not ready to invest in something like the Contax 645 then start with a 35mm camera that you can use your current lenses with. I’m a Nikon shooter on my digital cameras, and have all Nikon lenses, so it was easy to get the Nikon F100 and get started trying out film. The Canon 1V is an equivalent 35mm Canon camera. Cheaper medium format options include the Pentax 645 systems (I love my Pentax 645N) and Mamiya 645. So don’t think that you have to invest a lot of money to get started.
Let’s face it, incorporating film can feel like a serious endeavor but just liking learning your digital camera, there are only a few key elements that you have to figure out. Once you have that, it’s a beautifully simple process that allows you the ability to be artistic and intentional in your imagery, and if done well it will add an elevated look and feel to your brand that is certain to attract those dreamy dream clients.
While I spent years teaching myself, learning, researching, and growing from trial and error, you don’t have to do the same. Nowadays there are online courses and workshops out there to help teach you how to shoot film without all the guesswork. And if you really want to fast track your film journey, book a session with me and I will be happy to get you up to speed! I’m offering 40% off one-on-one video mentor sessions until April 30th. Head to my MentorSHOP and use code JBSPRING40 to get started!
add a comment
+ COMMENTS